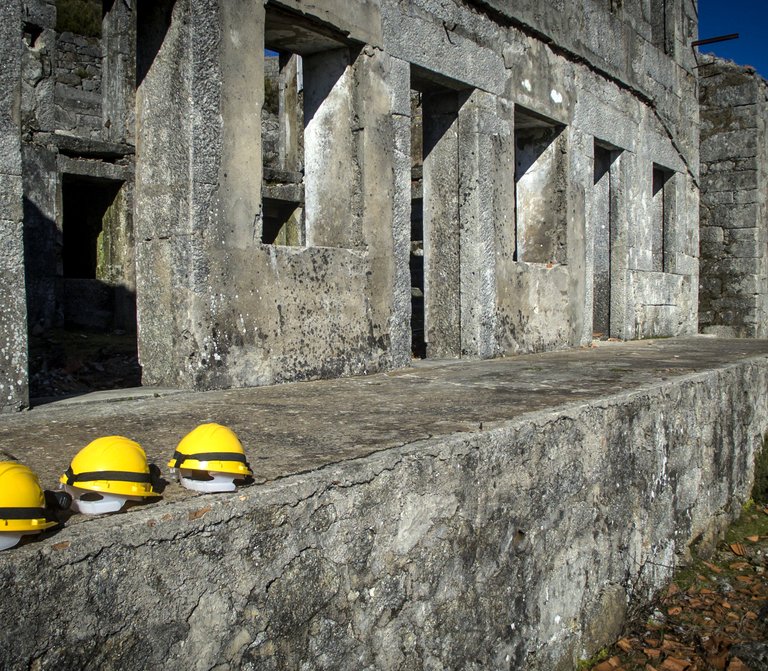
Detrelo da Malhada Panoramic


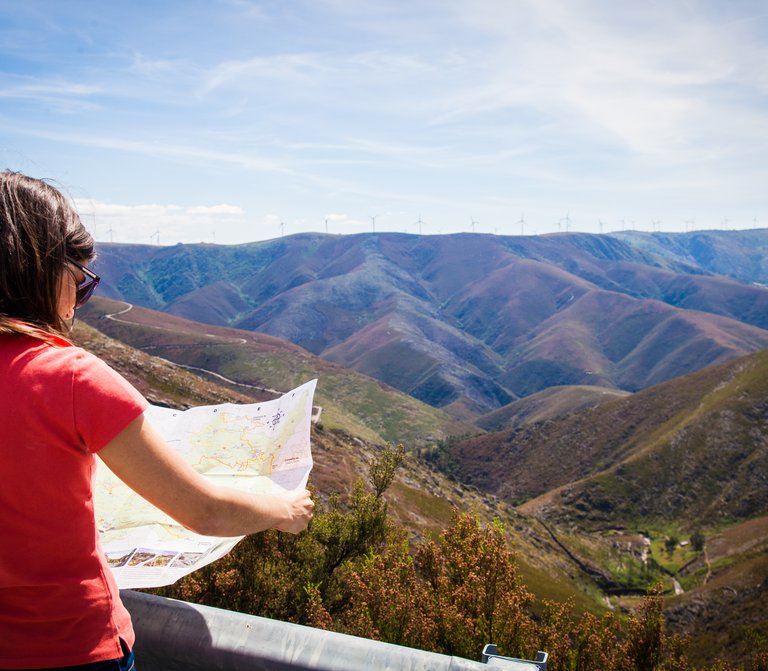
The inspiration written in the landscape

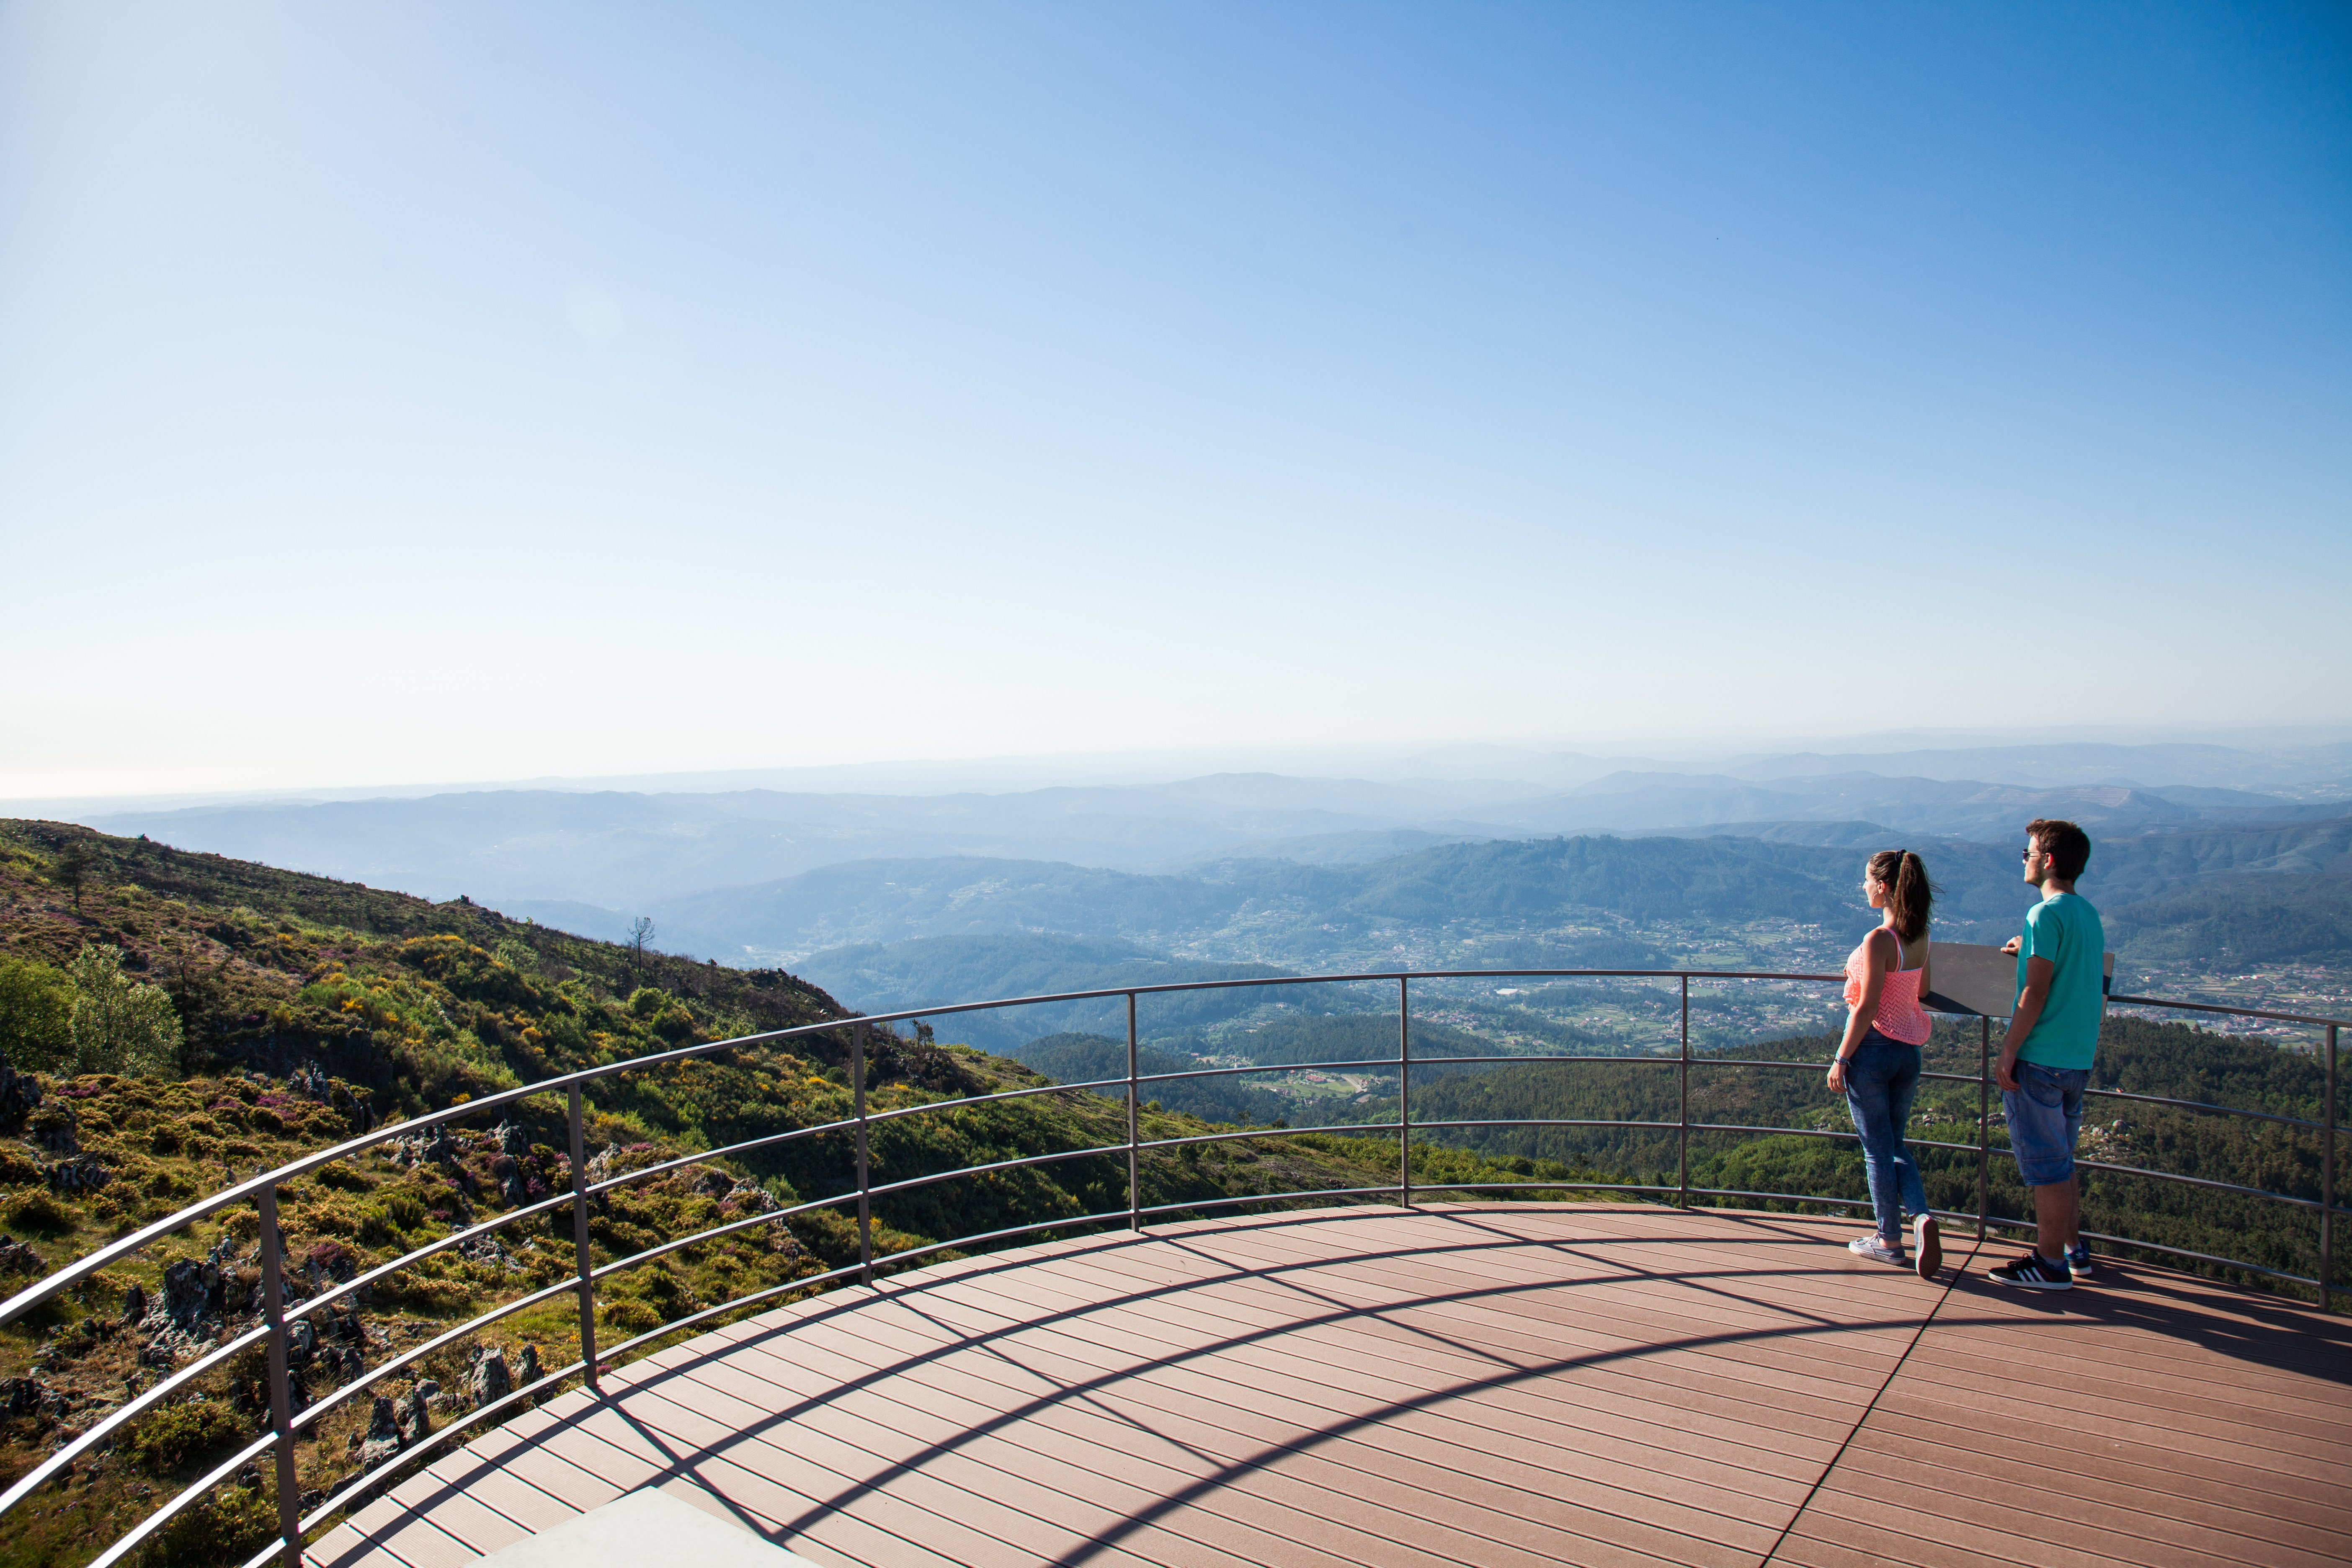
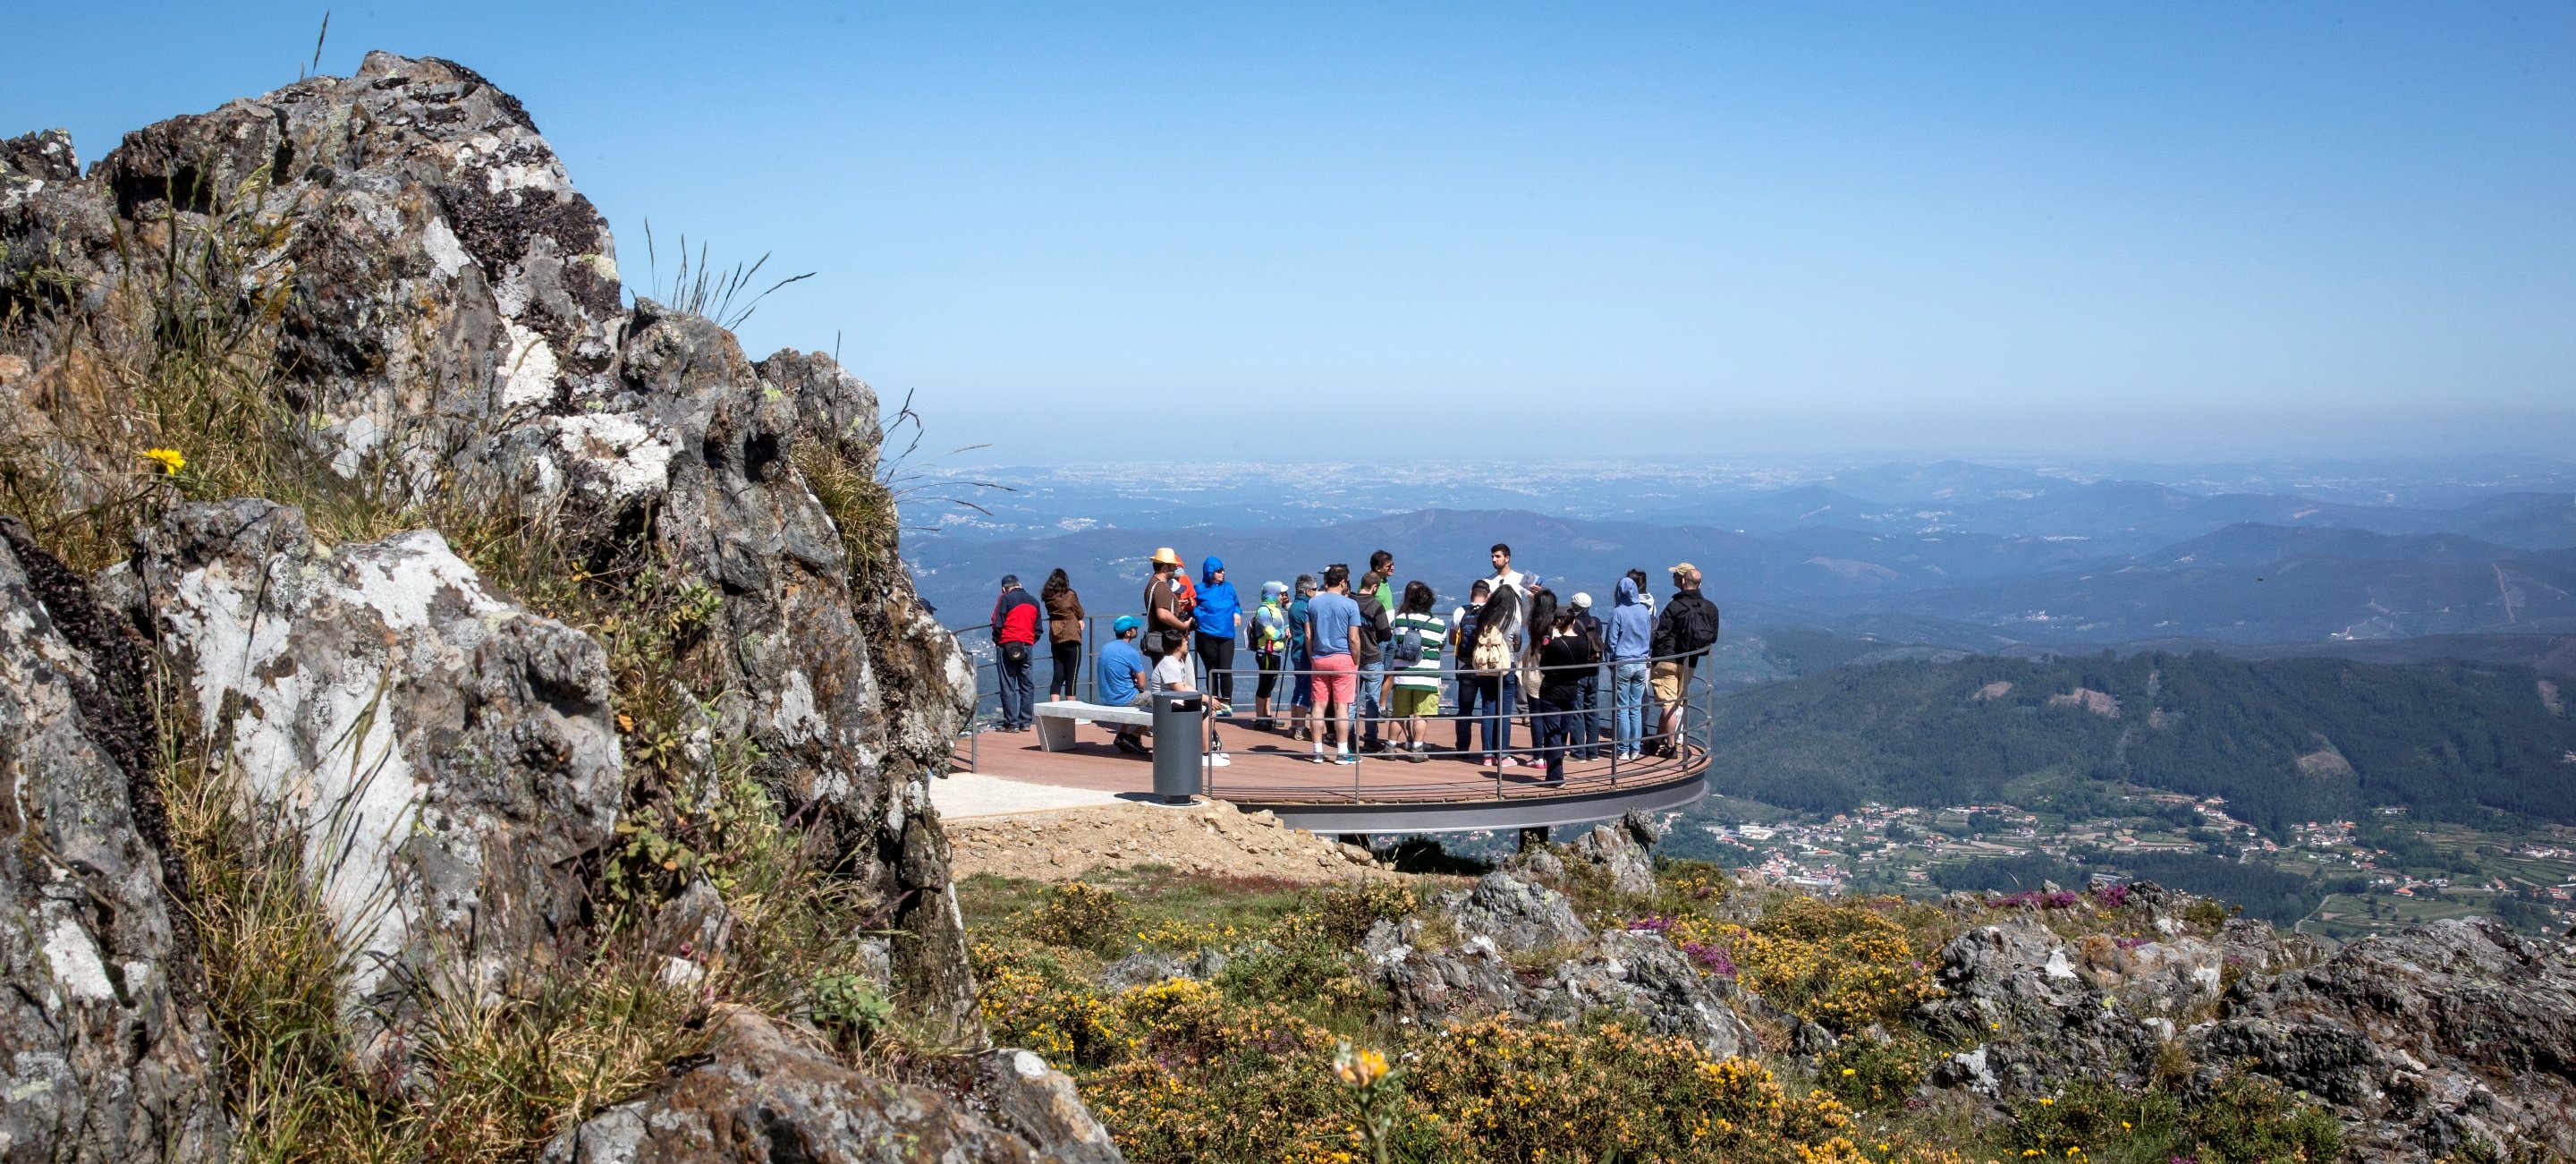
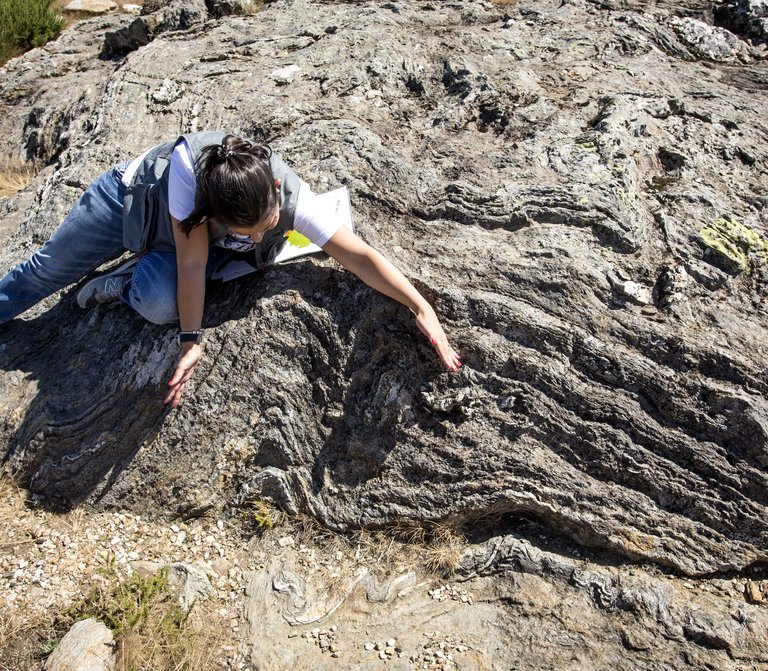
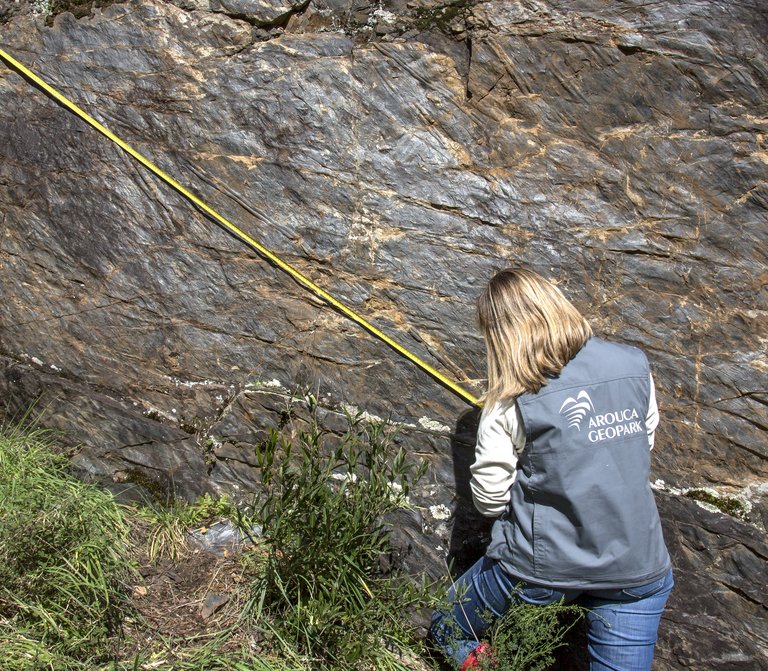
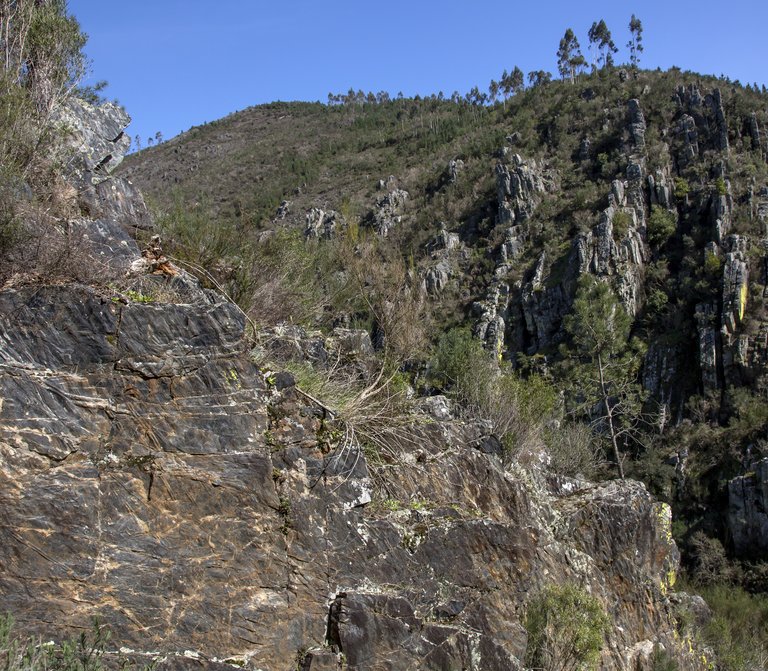
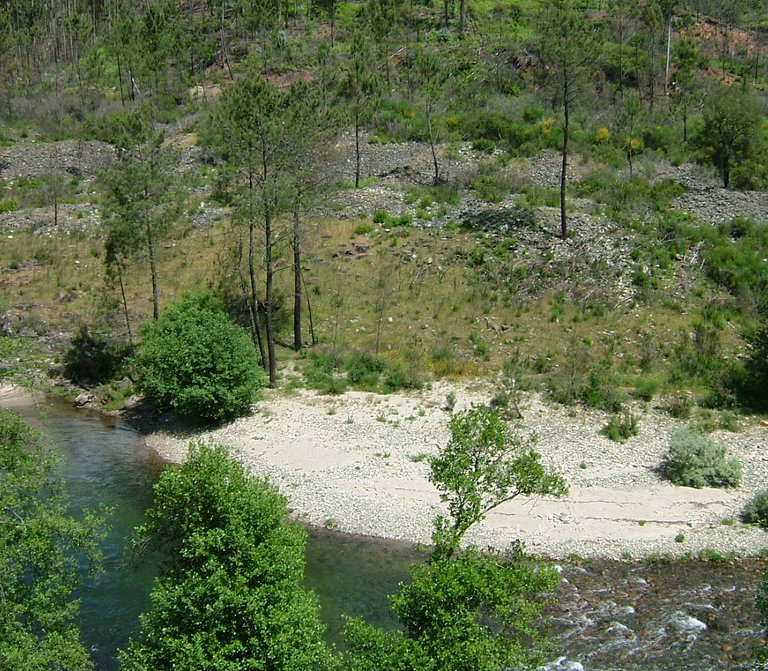
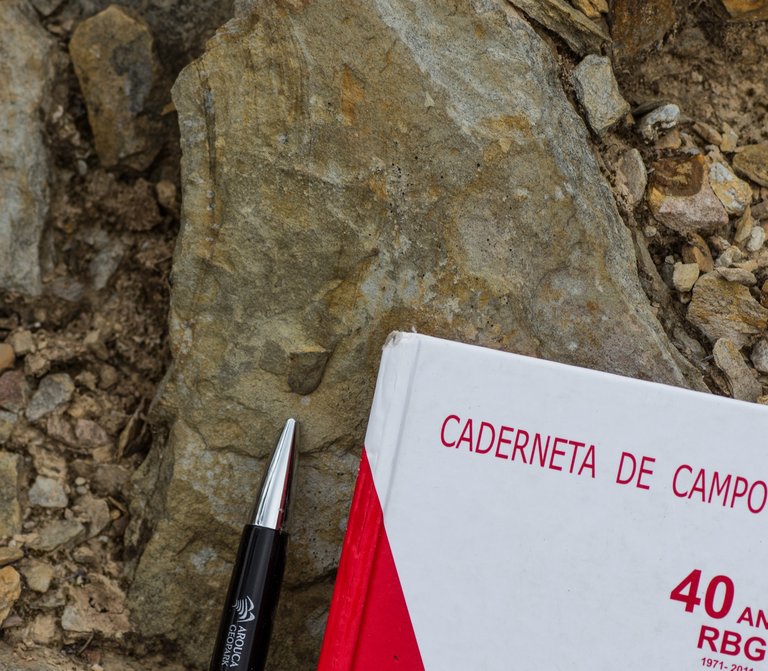
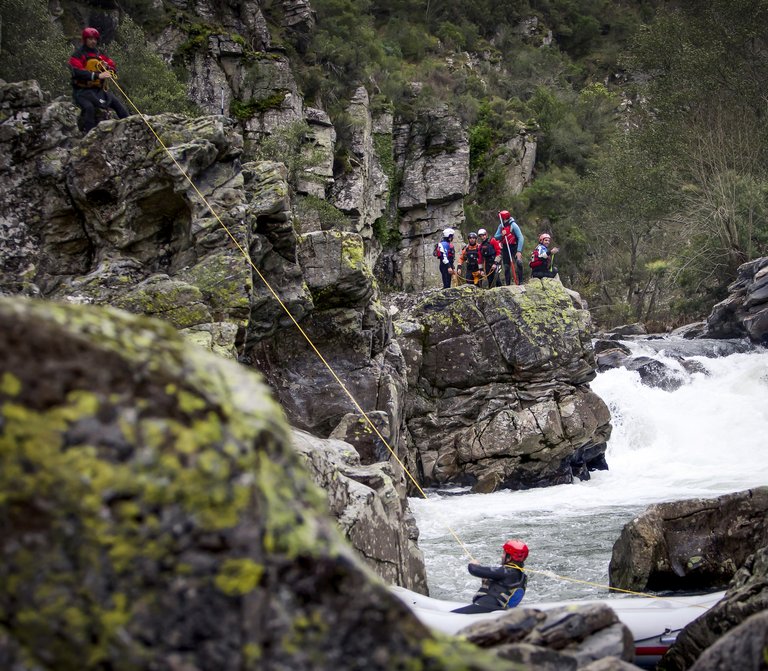
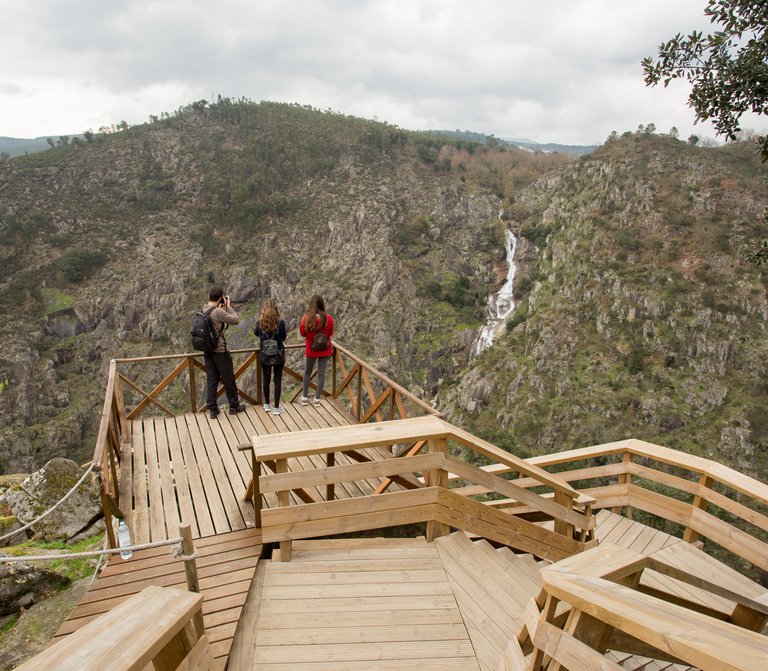
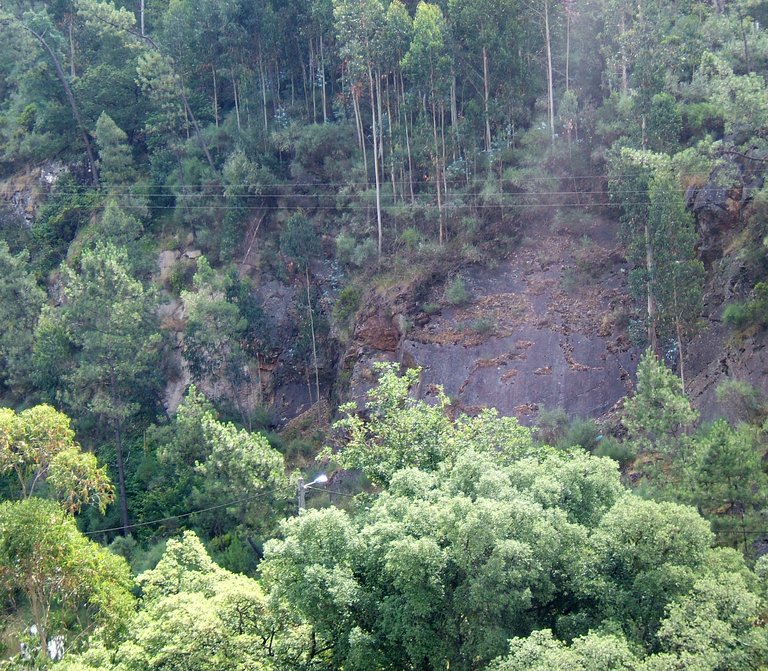
This infrastructure develops over metasedimentary rocks, virtually vertical, as they were protective walls of Freita Mountain. Here, it is possible to observe the abrupt northern side of Freita Mountain and the fertile Arda valley (where the Arouca town is settled). The northern slope of this mountain preserves different levels of erosion, which prove the displacement of the blocks responsible for the rise of this mountain. The Arouca valley (geomorphologically known as Arouca complex alveolus) is settled over a quartzite rock, very prone to chemical weathering and result of the accumulation of sediments, caused by the retention occurred in the region of Pedra Má (a corneal rock, located at the edges of Rossas and Várzea parishes). 

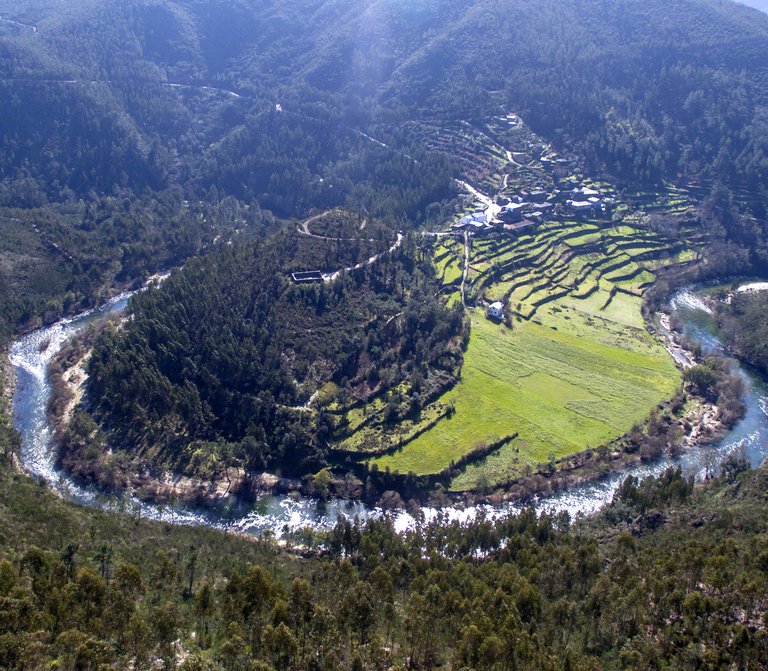
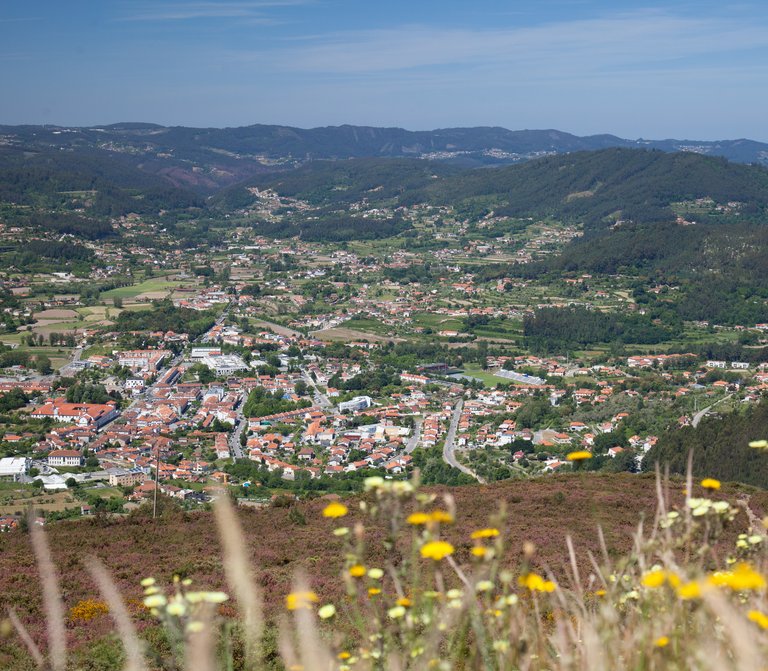
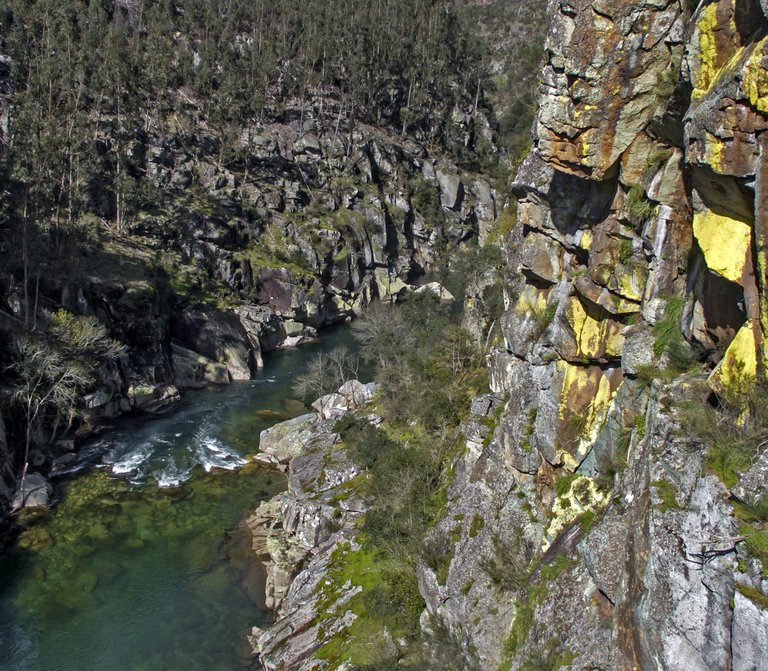
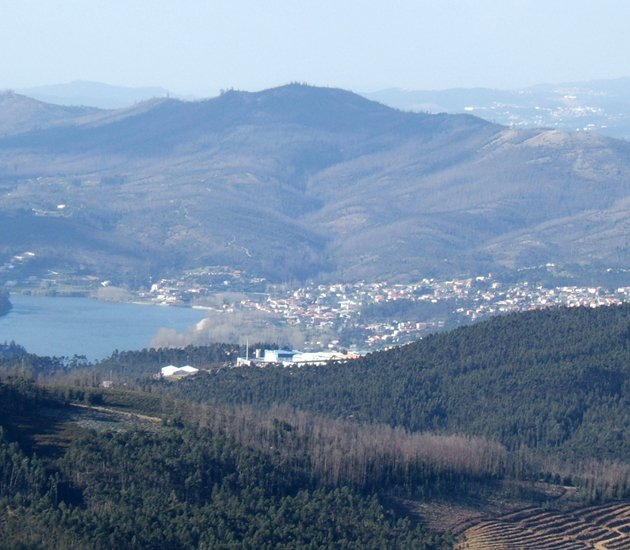
The incision of the Arda river at the end of Cenozoic, as well as the formation of the fertile soils that we know today, was crucial for the implantation of the Arouca Monastery, in the 10th century, as well as for the development of this region. A watchful eye over this landscape allows us to identify the contact region between the metasediments before the Ordovician and the quartzdiorite of Arouca, allowing to do some geological mapping at a distance. But, to the north, you can also easily find the Gamarão mountains, the Paiva valley, the Montemuro Mountain, the Douro valley’s mortise, the mountains of the Valongo region, and the Marão, Larouco and Gerês Mountains. As you turn your head you’ll see, to the west, the coastal region between Espinho and Oporto and, to the East, the Côto do Boi and the Arada Mountain, where you can frequently see São Macário. But it is better for you to see everything yourself.

Useful information

Detrelo da Malhada - Moldes
1099 m
40.88535 | -8.254844

Other geosites

Côto do Boi
2

Côto do Boi

Explore
S. Pedro Velho
3

S. Pedro Velho

Explore
Marmitas de gigante
4

Marmitas de Gigante do Caima

Explore
Contacto Litológico da Mizarela
5

Contacto Litológico da Mizarela

Explore
Frecha da Mizarela
6

Frecha da Mizarela

Explore
_MG_9717.jpg
7

Pedras Parideiras

Explore
Dobras da Castanheira
8

Campo de dobras da Castanheira

Explore
_MGL0623.jpg
9

Filão de Quartzo de Cabaços

Explore
Torre Meteorológica 8.jpg
10

Panorâmica da Costa da Castanheira

Explore
2600.jpg
11

Pedras Boroas do Junqueiro

Explore
_MGL0754.jpg
12

Pias do Serlei

Explore
Pedras Cebola 4.jpg
13

Quartzodiorito de Espinho (Pedras Cebola)

Explore
Viveiros Granja 4.jpg
14

Bolas Quartzodioríticas dos Viveiros da Granja (Pedras Cebola)

Explore
DSC06279.JPG
15

Minas da Pena Amarela

Explore
4.jpg
16

Minas de Rio de Frades

Explore
123.jpg
17

Icnofósseis de Mourinha

Explore
128.jpg
18

Livraria do Paiva

Explore
Conheiros de Janarde
19

Conheiros de Janarde

Explore
78.jpg
20

Meandros do Paiva

Explore
Icnofósseis da área de Meitriz
21

Icnofósseis de Meitriz

Explore
36.jpg
22

Minas de Regoufe

Explore
_MG_8381.jpg
23

Portal do Inferno e Garra

Explore
_MG_8240.jpg
24

Panorâmica da Senhora da Mó

Explore
PO-01811_p106e107.jpg
25

Coleção de Fósseis do Centro de Interpretação Geológica de Canelas

Explore
IMG_2616.jpg
26

Glaciação ordovícica

Explore
IMG_2581.jpg
27

Afloramento do Silúrico inferior

Explore
IMG_2653.jpg
28

Conglomerado do Carbónico

Explore
96.jpg
29

Gralheira d'Água

Explore
Praia fluvial do Vau
30

Vau

Explore
IMG_5537.jpg
31

Gola do Salto

Explore
Aspectos geotectónicos de Espiunca
32

Falha da Espiunca

Explore
Icnofósseis da área de Vila Cova
33

Icnofósseis de Vila Cova

Explore
Icnofósseis da área de Vilarinho
34

Icnofósseis de Vilarinho

Explore
arouca_0206-27-2.jpg
35

Cascata das Aguieiras

Explore
2.jpg
36

Garganta do Paiva

Explore
15.jpg
37

Icnofósseis de Cabanas Longas

Explore
pag122e123_1_Avelino.jpg
38

Mira Paiva

Explore
Marco geodésico da Pedra Posta
39

Pedra Posta

Explore
PedraMa2.jpg
40

Pedra Má

Explore
Panorâmica da marco geodésico de Sobreiros
41

Panorâmica de Sobreiros

Explore